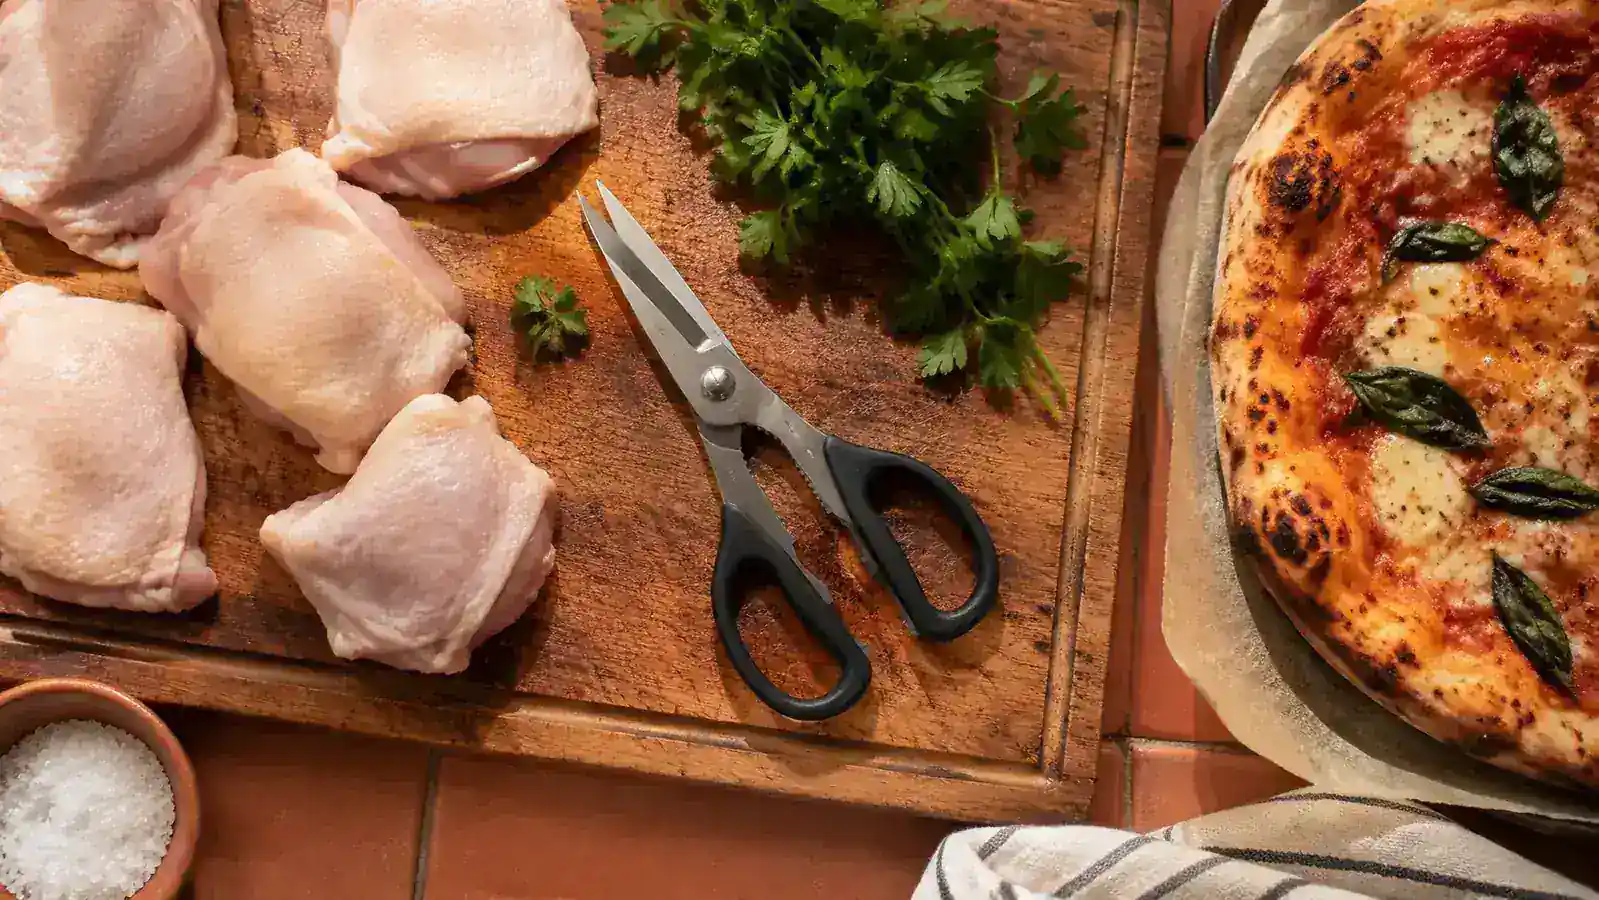
I spent years treating kitchen shears as a packaging tool. They lived in the back of my junk drawer, mostly coming out to snip twine off a roast or cut open a stubborn bag of rice. Then a Sunday afternoon of spatchcocking my first chicken with the Gidli Kitchen Shears changed things entirely. I finished in four minutes. No knife. No cutting through bone on accident. No wrestle with a cleaver. That afternoon sent me down a rabbit hole of every task I had been doing the hard way, and what I found was that good kitchen shears make at least a dozen daily jobs genuinely easier.
This guide walks through exactly how to use kitchen shears for the four tasks where they beat a knife every time: breaking down raw chicken, snipping fresh herbs, cutting pizza, and handling awkward food packaging. For each one I will tell you the setup, the technique, what to watch out for, and how to clean up in seconds. The Gidli shears I am using have a 4.6 rating from over 12,000 buyers on Amazon and come with a lifetime replacement warranty, which says something about how much use they are built to take.
If your knife is making chicken prep harder than it needs to be, kitchen shears fix that today.
The Gidli Kitchen Shears are built for exactly the tasks in this guide. Heavy-gauge stainless blades, a comfortable grip, and a lifetime replacement warranty. Over 12,000 Amazon buyers agree they are worth keeping on the counter.
Amazon Check Today's Price on Amazon →Step 1: Get Your Shears Ready Before You Touch Any Food
Pull the shears from the drawer and give the blades a quick wipe with a damp cloth before you start. Even fresh from the dishwasher, kitchen shears can pick up a light film of residue that affects how cleanly they cut through raw meat. Open and close them a few times to make sure the pivot point moves smoothly. If they feel stiff, a single drop of food-safe mineral oil on the pivot screw and a few more open-close cycles will loosen things up.
Check the blade edges by holding them up to a window. A well-maintained pair should show no nicks or flat spots along the cutting edge. The Gidli shears have micro-serrated blades on one side, which helps grip slippery raw chicken skin without sliding. If yours are dull, a quick pass on each blade with a ceramic rod honing stick will restore the edge without sending them to a sharpener. Two or three strokes per side is usually enough.
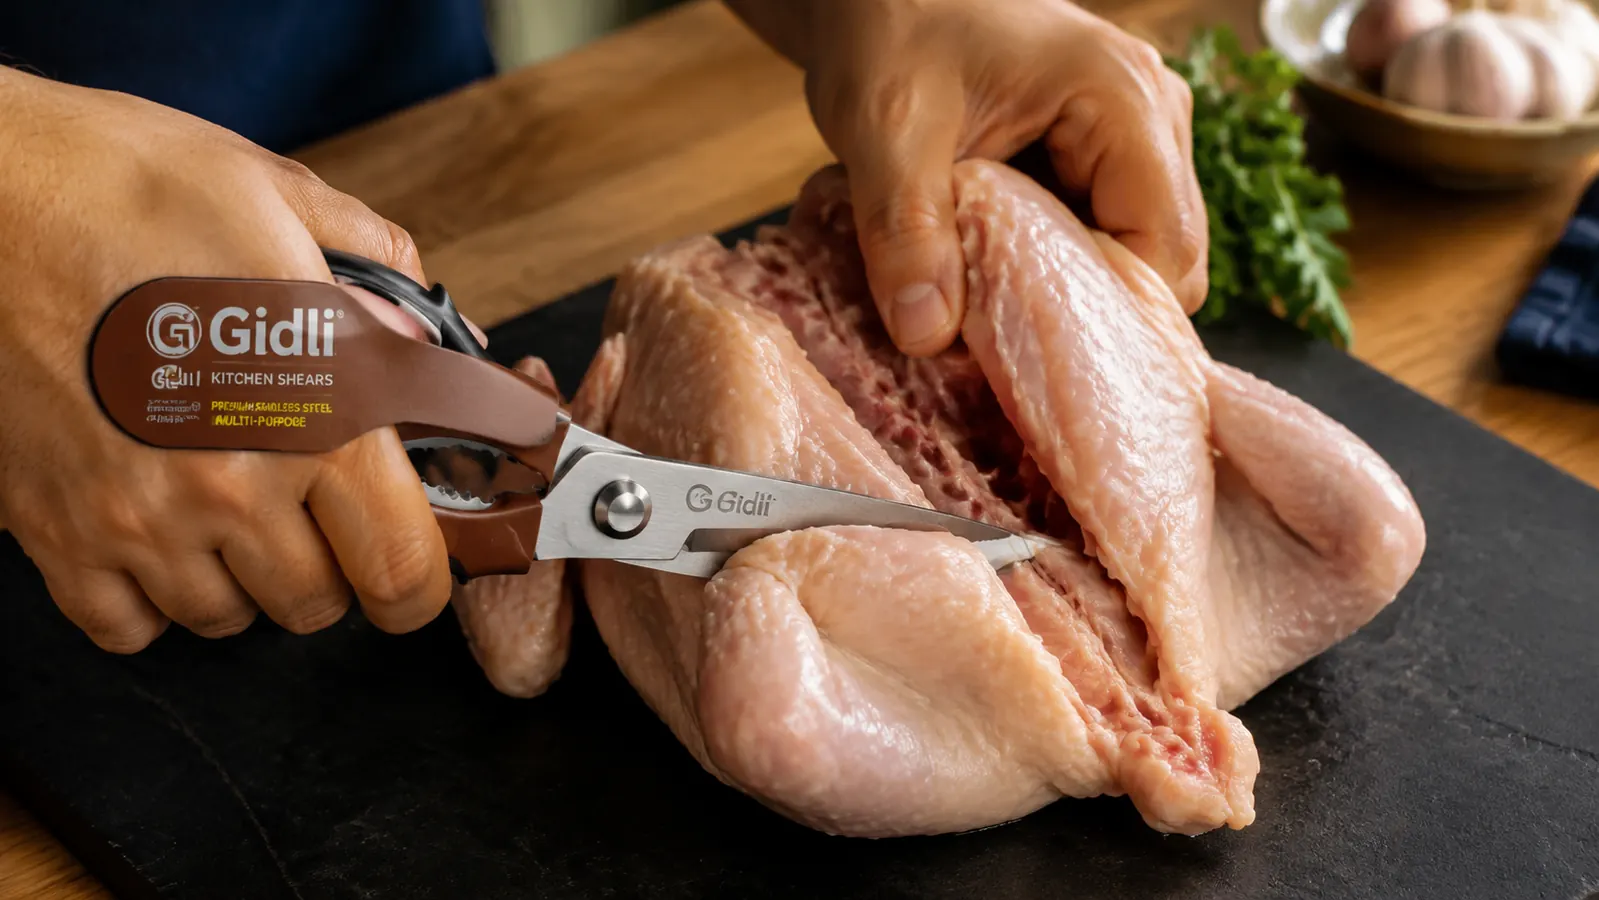
Step 2: Break Down Chicken Without a Knife
Raw chicken is where kitchen shears prove their value faster than anywhere else. Spatchcocking a whole bird, removing backbones, separating thighs from drumsticks, trimming fat from breasts: all of it goes faster with shears than with a knife, and the cleanup is a fraction of the mess. Start with a whole chicken breast-side down on a cutting board. Position the shears so one blade is inside the cavity, along one side of the spine. Cut from the tail end to the neck end in a single confident motion, keeping steady downward pressure on both handles. You will feel the shears pop through each rib as you go. Repeat on the other side of the spine to remove the backbone completely.
For cutting up a whole chicken into pieces, start with the joints. The hip joint connecting the thigh to the body and the shoulder joint connecting the wing to the breast are where chickens naturally separate, and a pair of sharp shears will find those spots with very little force. Work the joint open with your fingers first, then place the blade exactly at the joint socket and close the handles with one smooth motion. Avoid sawing back and forth: one clean cut is always more controlled than repeated smaller cuts. For cutting through thick bone in a drumstick or large thigh, position the shears blade perpendicular to the bone and apply steady pressure until it gives. If you need extra leverage, wrap the lower blade in a kitchen towel to improve your grip on the handle.
Trim excess fat and skin by picking it up with your non-dominant hand and snipping close to the meat with short cuts. This takes about thirty seconds on a chicken breast versus two minutes of careful knife work. Rinse the shears immediately after handling raw poultry, then set them aside. Do not let raw chicken residue sit on the blades while you work.
Step 3: Snip Fresh Herbs Directly Over the Pan
Chopping herbs on a cutting board creates more cleanup than the herbs themselves warrant. Kitchen shears let you snip fresh herbs directly into whatever you are cooking, cutting from a small bunch held in one hand right over the pot or plate. Hold a small bunch of basil, parsley, chives, cilantro, or scallions loosely in your non-dominant hand and snip across the bundle with the shears in your other hand. Thin herbs like chives can be snipped in a single bunch of twelve to fifteen stalks at once. Thicker herb stems, like rosemary or thyme, need to be handled one at a time because the woody stem will resist cleanly.
The size of your snips matters. For garnishing a finished dish, make quick short cuts across the bundle to get fine pieces roughly the same size as minced herbs. For herbs going into a marinade or a stew that will cook down, longer cuts of a quarter-inch or more are fine since the heat will soften the texture anyway. Avoid crushing or bruising the herbs by opening the blades fully between each snip rather than making rapid machine-gun cuts. Fresh basil in particular will bruise and turn dark if the blade presses rather than cuts cleanly.
Snipping herbs directly over the pan takes ten seconds and leaves nothing to clean up. That alone is worth keeping shears on the counter instead of in the drawer.
For larger herbs like whole sage leaves or flat-leaf parsley that you want roughly chopped rather than finely snipped, spread the leaves flat on the cutting board, gather them loosely, and snip across the pile. It is faster than rocking a knife and requires no skill to keep the pieces uniform.
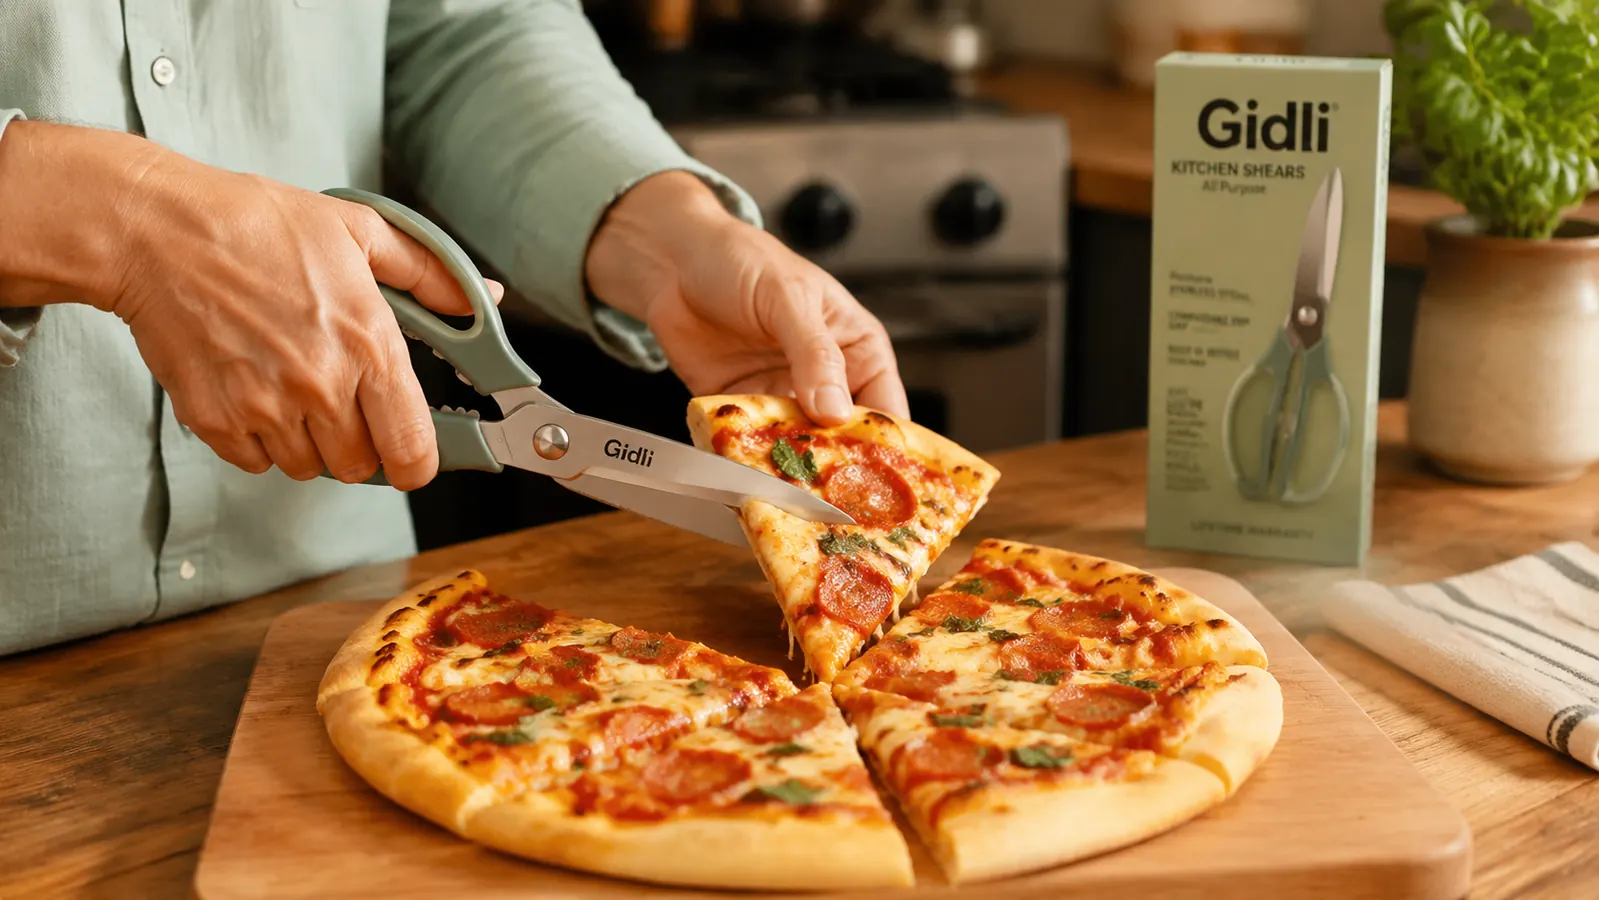
Step 4: Cut Pizza Cleanly Without a Wheel
A pizza wheel drags toppings and smears cheese in a way kitchen shears never do. To cut a hot pizza with shears, start by pointing one blade tip at the center of the pie and making a cut from the middle outward to the crust. Rotate the pizza or reposition the shears and repeat until you have the number of slices you want. For a standard eight-slice cut, you need four straight cuts, each crossing through the center. With practice this takes under twenty seconds and leaves cleaner edges than any wheel I have used.
The main thing to get right is opening the shears wide enough before each cut so the full blade length covers the slice from center to edge in a single snip rather than two partial cuts. On a large twelve-inch pizza, you will need to angle the shears slightly and open them as wide as they go. The Gidli shears have a blade length that handles a standard home pizza without difficulty. Deep dish or thick crust pizza is even better suited to shears than a wheel, since the wheel often skips or drags on thick dough where shears simply cut through.

Step 5: Handle Packaging, Butcher's Twine, and Everything Else
Kitchen shears earn their counter space by being useful for the hundred small cutting jobs that do not involve a cutting board. Trimming the fins from a whole fish, cutting dried apricots or dates directly into a bowl of oatmeal, snipping canned whole tomatoes into smaller pieces right inside the can before adding them to a sauce, cutting parchment paper to size, opening vacuum-sealed packaging that resists scissors and knife alike: these are all jobs where shears beat every other option in the drawer. The Gidli set includes a separate pair of seafood scissors, which is useful for cracking lobster shells and cutting through shrimp without a mess, but the main shears handle most food packaging on their own.
Butcher's twine and kitchen string are another area where shears are far better than scissors. Scissors struggle with the thick braided twine used to truss a roast or tie a bundle of aromatics. Kitchen shears, with their heavier pivot and thicker blades, cut through in one motion. Keep the shears on the counter near your prep area rather than in a drawer, and you will find yourself reaching for them twenty times a day for tasks you were previously solving with a knife and a lot more effort.
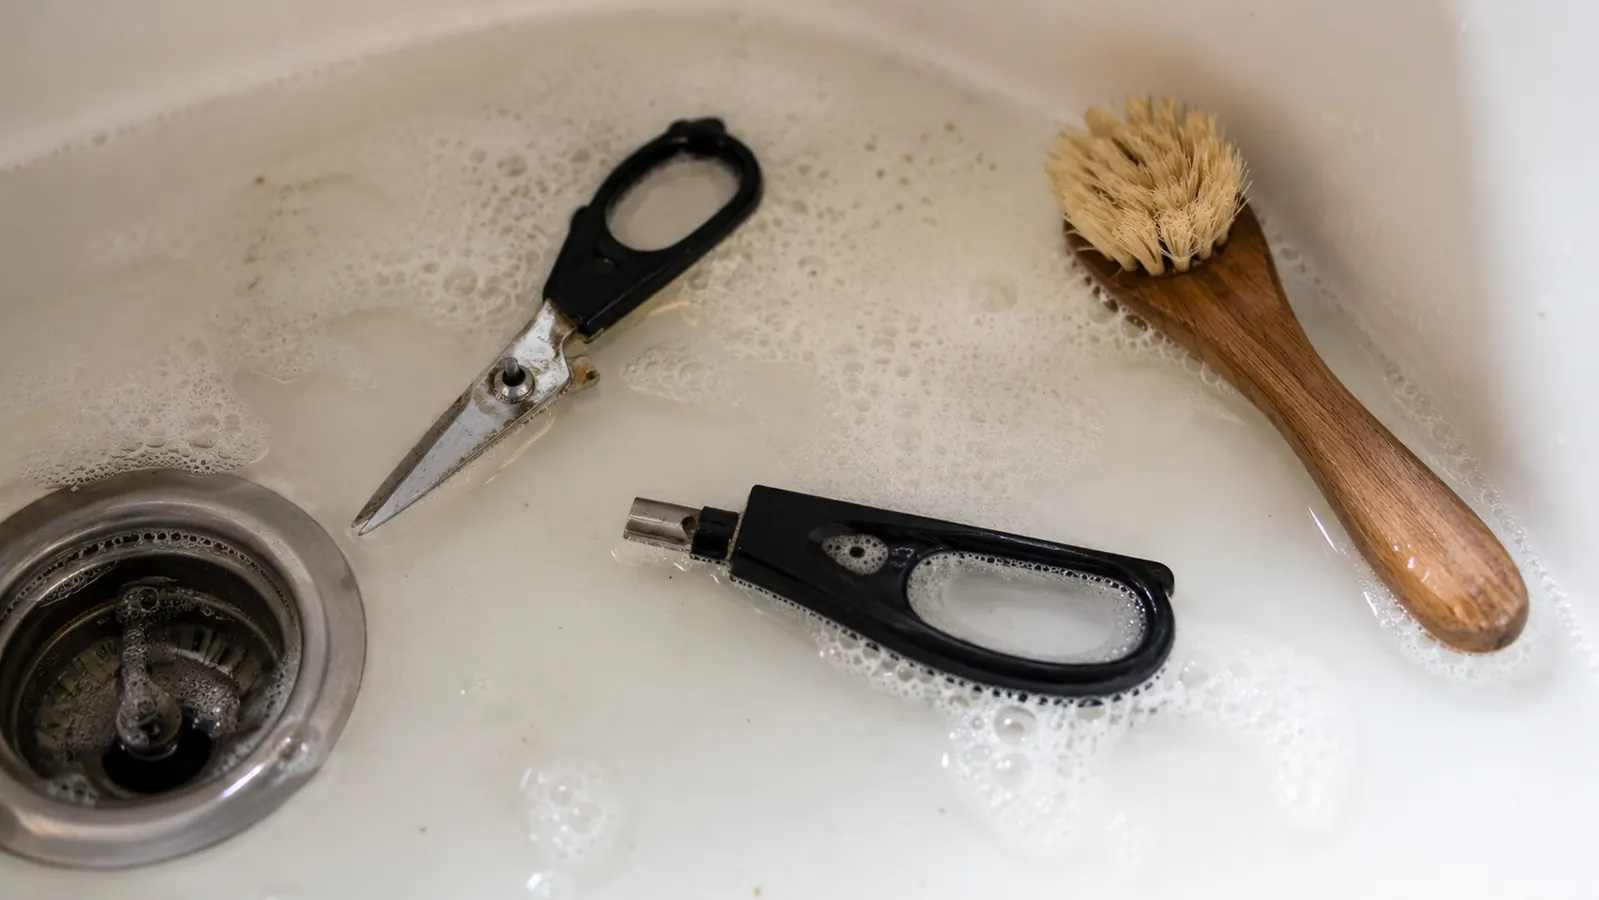
What Else Helps
Good technique gets you most of the way there, but a few supporting habits make kitchen shears even more useful over time. First, clean them immediately after each use, especially after raw meat. Most kitchen shears, including the Gidli pair, pull apart at the pivot screw for flat cleaning in the dishwasher or by hand. Cleaning them apart means you actually reach the inside edges of the blades, which is where residue hides and where rust can start if you skip it. Pull the two halves apart, wash both sides of each blade, dry completely, and reassemble.
Second, keep them sharp. Kitchen shears dull faster than most people expect, especially if you are using them for the tasks in this guide. A sharpening steel or a dedicated scissor sharpener every few months keeps the blades performing the way they should. Dull shears are not just frustrating; they require more force and create a tearing cut instead of a clean one, which matters both for food presentation and for safety. The Gidli shears come with a lifetime replacement warranty, so if a blade chips or the pivot cracks, the replacement process is straightforward.
Third, do not use your kitchen shears for non-food tasks. Cutting paper, zip ties, packaging tape, and twine for home projects all dulls the blade faster and can introduce debris you do not want near food. Keep a separate pair of basic scissors in the junk drawer and let the kitchen shears stay dedicated to cooking. That single habit extends the useful life of a good pair by years. For a deeper look at how the Gidli shears hold up over extended use, the long-term kitchen shears review covers blade retention, pivot durability, and how the grip performs after hundreds of uses.
If you are still deciding whether to add shears to your rotation or wondering when they beat a knife outright, the kitchen shears vs knife comparison breaks down which tool wins for specific prep tasks so you can pick the right one without guessing.
Ready to cut chicken, herbs, and pizza faster than you can set up a cutting board?
The Gidli Kitchen Shears have over 12,400 ratings averaging 4.6 stars on Amazon. They come with a lifetime replacement warranty, pull apart for easy cleaning, and cost less than a decent chef's knife sharpening session. If you cook most nights, they pay for themselves inside a week.
Amazon Check Today's Price on Amazon →