I used a manual can opener for most of my adult life without thinking much about it. Then one afternoon I was trying to open three cans of crushed tomatoes for a big batch of sauce, and by the second can my wrist was aching and the lid had half-separated and bent back at an angle that made the whole thing dangerous. That was the day I finally bought an electric can opener. Looking back, I should have done it years earlier.
The switch sounds small, but if you open cans regularly, whether it is soup, beans, tomatoes, coconut milk, or pet food, the difference is immediate. No more cranking, no more slipping, no more sharp half-attached lids. The Cuisinart electric can opener handles it all with one button press, which is exactly what I want from a kitchen tool: it does its job quietly and gets out of the way.
If your wrist dreads can-opening day, there is a better way
The Cuisinart electric can opener has over 63,000 reviews on Amazon for good reason. One-touch operation, smooth edges, and a cutting assembly that rinses clean in seconds. Check today's price before you go back to fighting another manual opener.
Amazon Check Today's Price on Amazon →This guide covers everything you need to get it right from the first can: where to set it up, how to position the can, what to do with the lid after, how to clean it properly, and a few specific tips if you are dealing with arthritis or a weakened grip. Even if you have had an electric opener before and found it fussy, the technique matters. A few small adjustments make a big difference.
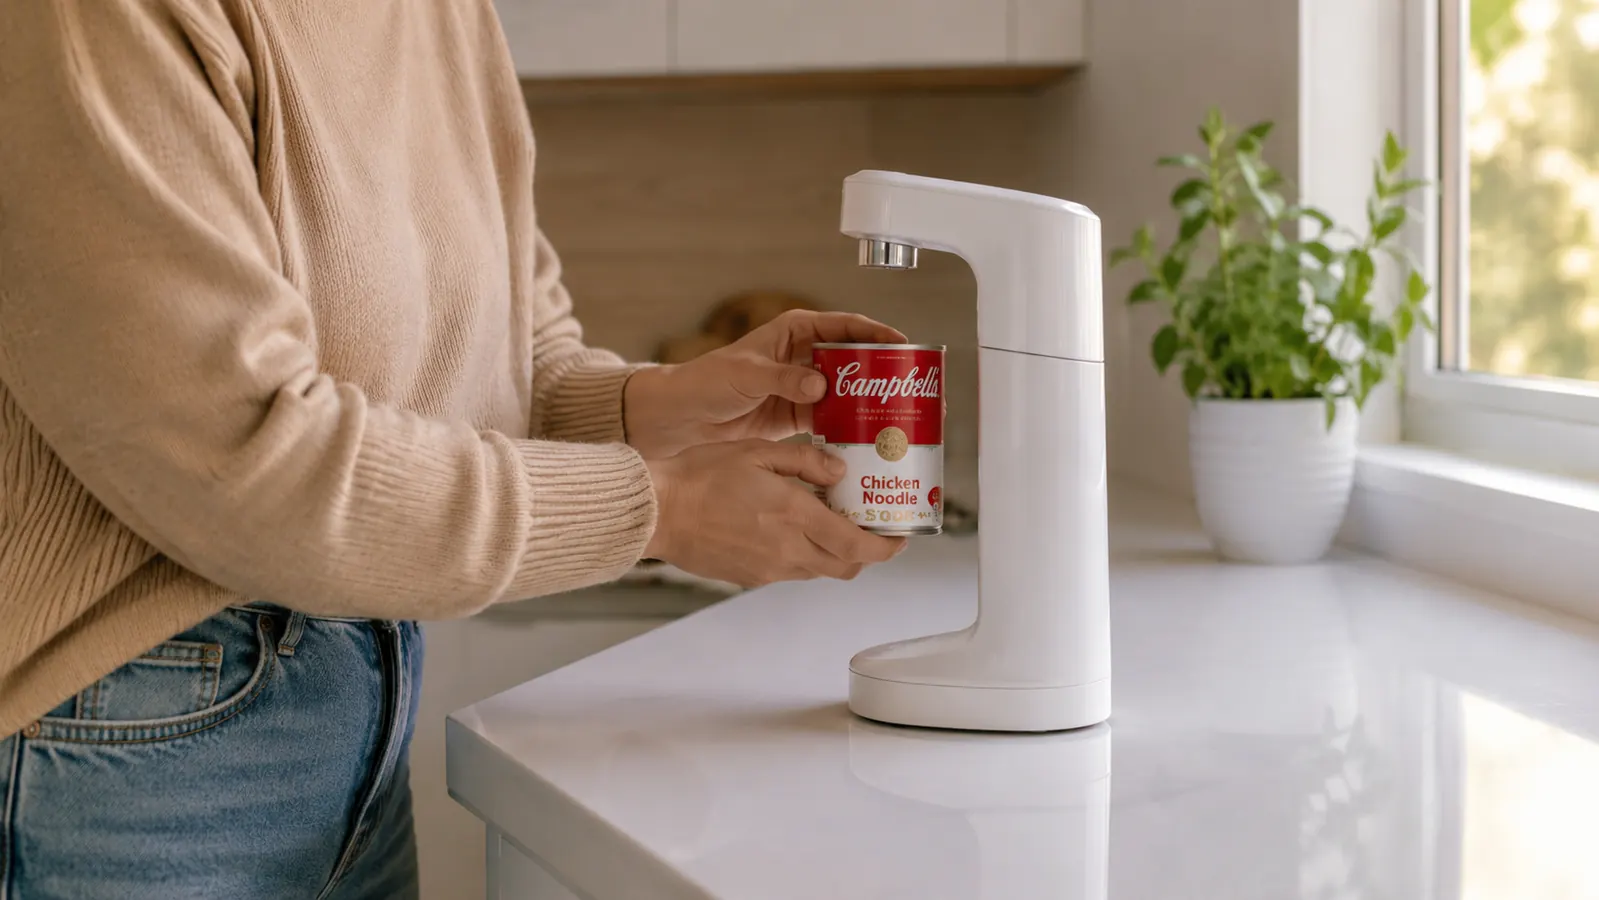
Step 1: Find the Right Counter Spot and Plug It In
Before you open a single can, take thirty seconds to think about where the opener lives on your counter. Electric can openers work best when they are not moving around, and they do move if the counter surface is slick or the base is not sitting flat. The Cuisinart has a weighted base and rubberized feet that grip most surfaces well, but it still works best on a dry, level spot away from the edge of the counter.
Keep it plugged in and within easy reach of where you tend to prep. I keep mine between the toaster and the stove, which is right where I am usually opening beans for a quick weeknight dinner. A shorter cord run also means less slack dangling near heat sources. If your counter is limited, a small designated corner near an outlet does the job. The key is that you reach for it without thinking, because the whole point is reducing friction in the cooking process.
Do not place it under overhead cabinets that are too low to clear a tall can. Standard soup cans clear most cabinets fine, but larger 28-ounce tomato cans or big catering-size cans need more vertical clearance. Test the fit with your tallest can before committing to a spot.

Step 2: Position the Can Correctly Before You Press Anything
This is the step most people rush, and it is where most problems start. If the can is not seated properly on the opener's drive gear before you press the lever, the cutter will bite at an angle, the lid will not separate cleanly, and you may end up with a jagged edge on the can rim.
Here is the correct sequence. Lift the opener's lever arm up. Slide the can under the cutting wheel from the front, rim side up. Lower the lever arm down onto the can rim. You should feel the drive gear catch on the ridge of the can lid. The cutting wheel should sit just inside the rim, not on the flat top of the lid. Give the can a slight left-right rock while the lever is down to confirm it is seated. When it feels stable and centered, you are ready.
For people with arthritis or limited hand strength, this step is worth taking slowly. The Cuisinart's lever does not require much force to lower, which is one reason it works well for people who have trouble gripping a manual opener. You are just guiding the arm down, not clamping it with force. If it does not feel secure after one try, lift the arm, reposition, and try again. It takes about ten seconds once you have done it a couple of times.
Step 3: Press and Hold Until the Lid Fully Detaches
With the can properly seated, press the lever all the way down until it clicks into the drive position. The motor engages and the can begins rotating. You do not need to hold the can or the opener. The drive gear grips the rim and rotates the can on its own. Your only job is to keep an eye on it.
The Cuisinart moves at a steady pace, taking roughly ten to fifteen seconds to complete one full rotation on a standard can. You will hear the motor working and then a subtle change in sound right as the lid fully separates. At that point the drive will stop on its own, or you can lift the lever arm to disengage it. Do not try to stop the can mid-rotation. Let it complete the cut.
One practical tip: if you are opening multiple cans in a row, the motor runs cool enough to use back to back without waiting. I have opened six or seven cans in succession while making chili without any issue. It is not a tool you need to pace or coddle.
The drive gear grips the rim and rotates the can on its own. You do not hold the can, you do not guide it. You just watch it open.

Step 4: Remove the Lid Safely Without Touching the Edges
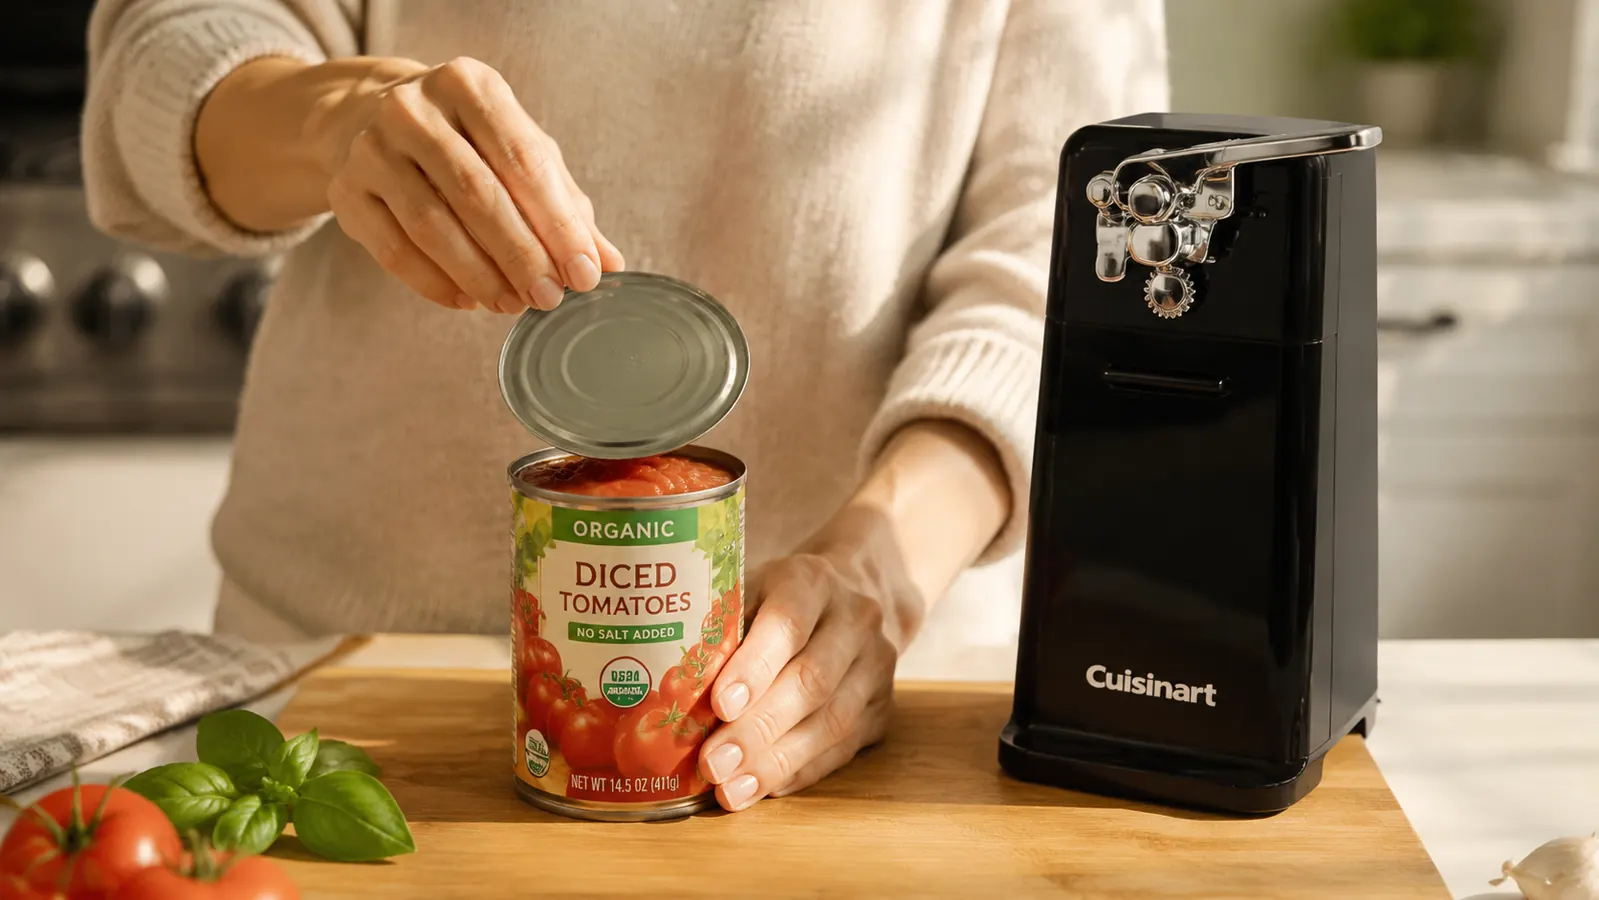
Electric can openers that cut from the side of the rim rather than straight through the top leave a smooth, rolled edge rather than the razor-sharp edge a traditional manual opener creates. The Cuisinart uses a side-cut method, which means the lid usually comes off with no sharp edge at all. That said, do not assume a fresh-cut lid is safe to grab with bare fingers. Treat it as potentially sharp until you inspect it.
The safest removal method is to use the magnetic lid lifter built into the Cuisinart's cutting assembly. After the can rotation stops, the magnet holds the detached lid so it does not drop into the can contents. Lift the lever arm and the magnet holds the lid suspended above the can. Move the can away first, then tip the lid into your trash can or compost bin. The magnet releases the lid cleanly without you ever touching the edge directly.
If the magnet does not catch the lid on a particular can (thinner lids occasionally fall straight in), use a silicone spatula tip or a fork to nudge the lid to the side of the can contents, then pick it up by the sides, not the cut edge. This happens rarely, maybe once out of thirty cans in my experience, but it is worth knowing the workaround.
For arthritis sufferers specifically, the magnetic lid removal is one of the biggest quality-of-life improvements over a manual opener. No prying, no pinching, no reaching into a sharp opening. If this is a concern for you, the Cuisinart's magnet feature is worth noting when you read the full two-year review at the link below.
Step 5: Clean the Cutting Assembly After Every Few Uses
This is the step people skip, and it is the reason electric can openers get a bad reputation for being unhygienic. The cutting wheel and drive gear touch the rim of every can you open. Canned food residue, even small amounts, can build up around the gear teeth and the wheel housing. Left uncleaned, that residue gets transferred to the next can you open. It is not something you want anywhere near food.
The Cuisinart's cutting assembly detaches from the main body for cleaning. Press the release button on the front of the unit, and the cutting module pops free. Rinse it under warm running water and use a small brush (a toothbrush kept for kitchen tools works well) to scrub around the gear teeth and wheel. Dry it with a towel before reattaching. The whole process takes about a minute.
The rest of the unit is not waterproof, so wipe the body with a damp cloth only. Never submerge the base or the motor housing. I clean the cutting module every three or four uses as a habit, and I give the body a wipe once a week. Two years in, there is no rust, no stuck debris, no foul smell. Regular light cleaning is all it takes.
If you are comparing the Cuisinart to a Hamilton Beach or another brand, cleanup ease is often where the Cuisinart pulls ahead. The detachable module is a genuinely useful design choice. You can read more about how it compares to manual openers on the comparison page linked below.
What Else Helps When Opening Cans Gets Difficult
An electric can opener removes most of the mechanical effort, but a few habits make the experience even smoother. First, always start with cans that are dry on the outside. A wet or condensation-covered can rim can cause the drive gear to slip slightly before it gets traction. Pat the top of the can dry with a towel before placing it on the opener if you have just pulled it from the refrigerator or a cold pantry shelf.
Second, if you cook with large restaurant-size cans, check that your opener is rated for them. The Cuisinart handles standard household sizes up to about 28 ounces reliably. Larger cans sometimes have thicker rims that require more torque. For occasional large cans I find it works fine, but if you are regularly opening number-ten cans for big-batch cooking, a commercial-grade opener is the better fit for that specific task.
Third, if you have guests or family members who also cook in your kitchen and are not used to electric openers, walk them through the positioning step once. The single most common mistake with electric openers is placing the can before lowering the lever arm, which throws off the alignment. Once someone sees the correct sequence, they do not forget it.
Finally, store the opener on the counter rather than in a drawer. Electric can openers that live in a drawer get used less, which means people revert to a manual opener they keep nearby out of convenience. Keeping it visible and plugged in is the simplest way to make sure you actually use it, especially on busy weeknights when you are already tired and just want dinner done.
Ready to stop dreading the can drawer?
The Cuisinart electric can opener is rated 4.5 stars by more than 63,000 home cooks. One-touch operation, detachable cutting assembly, magnetic lid lifter, and a footprint small enough to fit in any kitchen. Check today's price and see why it is the opener most people buy and keep for years.
Amazon Check Today's Price on Amazon →